Every renovation has a right order, and getting it wrong is one of the most expensive mistakes a homeowner can make, not because paint is expensive, but because paint done out of sequence gets ruined, redone, or re-decided at exactly the wrong moment. The classic version: the walls get painted beautifully, then the new floors go in, and the installers ding the baseboards, scuff the wall corners, and dust the fresh paint, so you repaint. Or the inverse: the cabinets go in, the counters land, the floor is done, and suddenly the wall color you chose six months ago from a chip fights the stone you actually installed. Both failures share one root cause: the color decision and the painting work were sequenced wrong. This guide untangles the two threads, when to choose your colors versus when to paint them, and gives you the professional order for paint vs floors vs cabinets, plus the exceptions, the protection tactics, and the trim-first cases that break the rule. Paint colors shift with lighting, surface, and sheen, so always test a large physical sample in your own space, in your own light, before committing, screen swatches are approximations. The Global Abode is an independent publication, not affiliated with or endorsed by Sherwin-Williams or Benjamin Moore; all color names and codes are referenced as widely-known designer examples.
Key takeaway: Plan the palette early, paint the walls late. Choose your color direction while the finishes are being selected, reading the floor, cabinet, and stone undertones before they are ordered, but put the actual wall paint on after the heavy, dusty, and wall-touching work is done: demolition, floor installation, cabinets, and countertops first, walls painted with the real finishes in place, trim and final touch-ups last. Painting walls before the finishes are installed is repainting in disguise; choosing the wall color after they are installed is how you get it right the first time. Undertone notes below are widely-reported designer observations, not exact manufacturer specifications.
The Sequencing Mistake That Costs the Most
The most expensive sequencing mistake is not painting at the wrong time, it is choosing the wall color before the finishes are known. It happens constantly: the renovation is weeks from starting, the painter is asking for a color, and you pick one from a chip because the chip looks right against nothing. Then the floors arrive warmer than expected. The cabinets read cooler than the sample door. The countertop veining has a gray thread nobody mentioned. And the wall color you committed to, perfectly lovely on its own, fights one of them. The fix is always the same: repaint, with the real finishes in the room this time. The first paint job was not paint; it was tuition.
This is why the order of decisions and the order of work run on opposite schedules. Decisions flow backward from the most permanent, most expensive, least changeable finish: floors, stone, cabinets, and tile are chosen first because they cost the most and stay the longest. Paint is chosen last because it is the cheapest thing to change and the easiest to match. But the work flows forward from the messiest to the cleanest: demolition and rough work first, then the big installations, then the finishing. Paint the walls near the end of the physical work, but the color choice should have been waiting in the wings, reading the actual finishes, since the finishes were selected.
The second-costliest mistake is the mirror image: painting walls before the heavy work is done. The room gets a beautiful fresh coat, and then the flooring crew moves through with saws and boxes, the cabinet installers lean doors against walls, and the dust from tile cutting settles into the still-curing paint. Touch-ups on a dusty, wall-scratched paint job never quite disappear, and the “repaint” that follows is never as clean as doing it right once. The rule professionals live by is blunt: paint is finish work. It happens after the destruction stops.
Notice what these two mistakes have in common: both come from treating “paint” as one decision. It is two, the color decision (which belongs to the planning phase, read against real finishes) and the painting work (which belongs to the finish phase, done when the mess is over). Hold those two apart and nearly every sequencing question answers itself. Our finishes-first color scheme guide covers the decision-order half of this in full: how to read floors, stone, and tile before a single paint chip is chosen.
Tip: Collect physical samples of your actual finishes, the floor plank, the cabinet door front, the countertop chip, the tile, before you finalize any wall color. Prop them together in the room’s real light at three times of day. The wall color that agrees with all four is your answer; the one chosen without them is a guess.
The Professional Order, Step by Step
Ask ten contractors and you will get arguments at the margins, but the professional order below is the consensus sequence that remodelers, painters, and flooring installers all live with. Follow it in order and you get one clean paint job instead of two.
1. Plan the palette, but don’t paint yet. Before demolition, decide the home’s color direction: warm or cool thread, the anchor neutral family, the rough depth each room wants. This is the thinking phase, not the painting phase. You are building the palette’s intention so every finish choice made downstream, the floor’s tone, the cabinet stain, the tile, can be judged against it. Our whole-home palette guide walks through building this direction from scratch.
2. Demolition and rough work. Everything destructive and dusty happens now: tear-out, framing, electrical, plumbing, drywall hanging and mudding. Walls are patched, sanded, and primed, primed, not painted. Primer seals the new drywall and gives you a blank canvas; it is also cheap to touch up if the rough work mars it. No finish paint goes on while saws and sanders are still running.
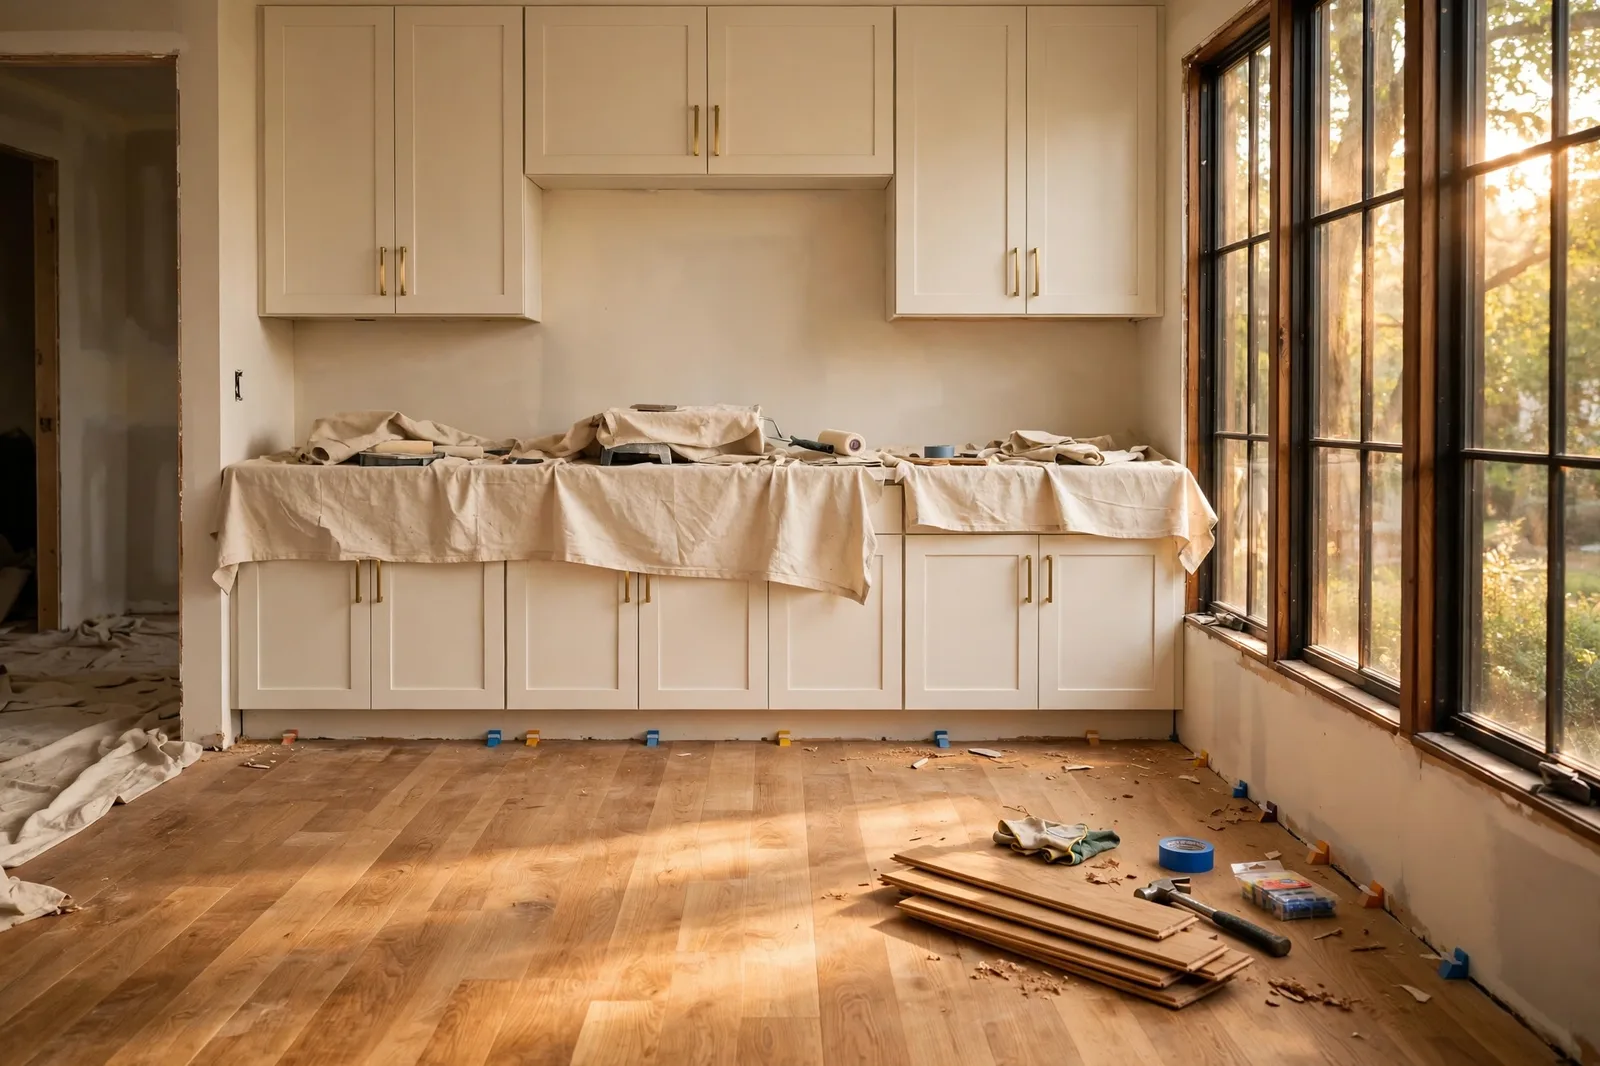
3. Flooring installation. Floors go in before the finish paint. The reasons are practical: floor work is heavy, dirty, and wall-touching, installers remove and reset baseboards, cut material in the space, and move equipment through every doorway. Doing it before the finish paint means any wall damage happens to primed walls, where it is trivial to fix, rather than to a finished paint job. One nuance: site-finished hardwood is often installed now but finished later, the brutal sanding dust happens before the walls are painted, while the stain and sealer go on after, when the air is clean. More on this in section 3.
4. Cabinets, built-ins, and trim carpentry. With floors in, the millwork goes in: cabinets set at their true height (no guessing against flooring that is not there yet), interior trim, door casings, and any built-ins. The walls are still just primed, which is exactly what you want, cabinet installers will touch the walls, and touching primed walls is free.
5. Countertops and stone. Templates are taken against the installed cabinets; the stone lands. Backsplash tile often follows here too. Every finish the walls need to agree with is now physically in the room, this is the moment the wall color stops being a theory and becomes a comparison you can see with your eyes.
6. Finalize the wall color, for real this time. With the floor, cabinets, counters, and backsplash all installed, brush out your finalist wall colors on large boards (or directly on the primed walls) and judge them against the actual finishes in the room’s real light. This is the sampling moment the whole sequence exists to protect. Adjust the palette plan from step 1 against reality: the warm thread you planned may need to go half a shade deeper because the floor ran warm, or the neutral may need to cool a touch because the stone has a gray thread.
7. Paint the walls and ceilings. Ceilings first, then walls, always top-down so drips land on unpainted surfaces, never on finished ones. Full coats now, in the finished sheen, on the final colors.
8. Trim, doors, and final touch-ups. Trim and interior doors get their finish coats (they were likely primed and given a first coat earlier, per section 5), baseboards are caulked to the new floors, and the whole room gets its final touch-up pass. Fixtures, hardware, and the walkthrough come last.
Notice the shape of the sequence: the expensive, permanent finishes go in first; the cheap, adjustable paint goes on last. Nobody repaints a floor to match a wall, walls always adjust to floors, stone, and cabinetry, never the reverse. The order encodes that truth physically.
| Phase | Color decisions to make | Painting work to do |
|---|---|---|
| Planning | Choose palette direction: warm/cool thread, anchor family | None, samples and boards only |
| Demo & rough work | Select floors, cabinets, counters, tile | Prime new drywall only |
| Floors | Confirm finish sheen and tone; watch for warm/cool surprises | None, protect the primed walls |
| Cabinets & trim | Confirm cabinet color against the floor | Prime/first-coat trim and cabinets if being painted |
| Countertops & backsplash | Read the stone’s undertone, this is the verdict | None |
| Color finalization | Lock the wall colors against the real finishes | Sample on boards or primed walls |
| Finish paint | None, decisions are done | Ceilings, then walls, full coats |
| Final trim & touch-up | None | Trim final coats, caulk, touch-ups |
Watch out: The phrase “we’ll just paint first and touch up later” is how two paint jobs happen instead of one. Touch-ups on walls that were dinged during floor and cabinet installation never blend perfectly, sheen shifts, edges show, and dusty walls take paint differently than clean ones. Protecting the schedule (paint late) is cheaper than protecting the paint (touch-ups everywhere).
Paint vs Floors: The Debate, Settled
Paint-before-floors or floors-before-paint is the most argued sequencing question in renovation, and both camps have real logic. Painters tend to favor painting walls before the final flooring goes in: painting is messy, and no amount of drop cloths eliminates the risk of drips, splatter, and scuffs from ladders on a brand-new floor. Floors are usually the most expensive finish in the room, protecting the expensive finish by painting first is sound economics. Flooring installers tend to favor floors first: removing old flooring, cutting new material, and resetting baseboards is dusty, wall-touching work, and they would rather their crew’s damage land on primed walls than finished paint.
Here is how professionals actually resolve it, and the resolution is a split, not a winner: the heavy floor work happens before the finish wall paint, but the finish wall paint happens after the heavy floor work. In practice that means: remove old flooring, do all wall prep (patching, sanding, priming), install the new flooring, then paint the walls with full finish coats, with the floors properly protected. The floor crew’s mess lands on primed walls (cheap to fix); the painter’s mess is managed with proper floor protection (drop cloths, taped edges, adhesive floor film on hard surfaces) because floors can be covered but walls cannot be “un-dinged” as cleanly.
There are two well-known exceptions worth knowing. Exception 1: site-finished hardwood. Refinishing existing hardwood, or finishing new hardwood on site, involves brutal sanding that creates fine dust everywhere. The sanding must happen before the walls get their finish coats, but the stain and sealer go on after the walls are painted, you do not want wet paint competing with wet finish, and you do not want sanding dust settling into tacky wall paint. So: sand the floors, paint the walls, then stain and seal the floors, then do the trim and final touch-ups. It is the one case where a finish goes on after the paint.
Exception 2: the “paint camp” for cheap or DIY floors. If the flooring is inexpensive, forgiving, or installed by the homeowner themselves (paint-grade situations, some laminate and LVP installs where the crew is careful and the floor is cheap to protect), some painters prefer painting walls first to avoid any splatter anxiety. The logic holds only because the floor is the cheap finish and the paint job is the valuable one, the reverse of the usual economics. If your floor costs more than your paint job (it almost always does), the floor wins the protection priority and gets covered while you paint.
The ceiling question sits inside this debate too: ceilings always get painted before floors are covered, along with the walls’ finish coats, the top-down rule does not change. What changes is only whether the wall’s finish coats go before or after the flooring installation, and the professional answer is after, with the floors protected like the expensive finish they are.
One more practical note from the floor-first reality: floor installation often requires removing and resetting baseboards, and new floors change the baseboard line. Painting the trim’s finish coats after the floors are in means the caulk line where baseboard meets floor is painted once, cleanly, in the final state. Painted before, that line gets disturbed by the floor work and needs a second pass anyway.
Paint vs Cabinets: Why Cabinets Win the Decision Order
Cabinets versus wall color is less of a debate and more of a hierarchy: the cabinets are a finish; the wall color serves them. Cabinets, whether stained wood, painted, or wrapped, are permanent, expensive, and visually dominant in a kitchen. The wall color’s job is to agree with them, which means the wall color cannot be finalized until the cabinets are chosen, and ideally not until they are installed and visible in the room’s real light.
The installation order follows the same logic as floors: cabinets go in before the finish wall paint. Cabinet installers maneuver large boxes through the space, lean them against walls, and fasten them to studs, all wall-touching work. On primed walls, that is harmless. On finished walls, it is a touch-up list. The standard kitchen sequence is: floors, then cabinets, then countertop template and installation, then backsplash, and only then the wall color decision and the wall paint itself.
This order also solves the height problem that trips up DIY sequencing: cabinets are set at their true finished height on top of the installed floor, so countertops, backsplash, and the wall-to-cabinet sightline all land exactly where they will live. Installed over an unfinished subfloor, everything sits a fraction low, and fractions are exactly what the eye catches at a countertop-to-wall junction.
The one nuance: painted cabinets are themselves a painting project, and they get painted on the cabinet shop’s schedule, not the wall schedule. If your cabinets are being painted (factory-finished, sprayed off-site, or finished in place), their color is chosen during the finish-selection phase, alongside the floor and the counters, because the cabinet color is a finish decision, just like the stone. The wall color is still chosen after, to serve it. If the cabinets are being painted in place by your painter, that work typically happens around the same time as the walls’ finish coats, with the cabinet painting treated as its own careful phase: masked, sprayed, and cured before the room’s final touch-ups.
And the countertop sits between them in the decision chain: the counter’s undertone is read after the cabinets are known and before the wall is chosen. Stone is the least forgiving finish in the house, you cannot adjust a slab, so the wall color reads the slab’s temperature and veining, not the reverse. Our kitchen wall color guide covers the cabinet-counter-wall triangle step by step, and our room-by-room checklist puts kitchens in their proper sequence position.
Special Cases: Trim-First Exceptions, Exteriors, and Living in the Home
Every rule has its edge cases, and sequencing is no exception. The ones below are the cases that actually come up in real renovations, knowing them is the difference between a rule you follow blindly and a sequence you understand.
The trim-first exception. Some painters paint the trim before the walls, and for good reason. Trim is detail work: it is faster to cut the trim color into the wall with a brush and then roll the wall color up to the trim’s clean edge than to cut the wall color into detailed trim. The standard pro sequence within a room is: ceiling, then trim (first coats), then walls, then the trim’s final coat. And when baseboards are removed for flooring and reinstalled, many painters fully finish the trim off-site or in a spray area before installation, then caulk and touch up the nail holes after. The exception inside the exception: if the walls are getting a dramatic dark color and the trim is white, paint the walls first, dark wall paint on white trim is harder to clean than white trim paint on a wall you are about to cover anyway.
Exteriors follow the same logic, inverted. Outside, the sequence is still “permanent before adjustable, messy before clean”, but the surfaces change. Roof first (it is the most permanent and the dirtiest to install), then siding and masonry work, then windows and trim carpentry, and the exterior paint last. The front door and shutters, if they are accent colors, are painted with the trim phase. And just like interiors, the exterior color decision is made early, the roof’s tone and the brick or stone’s undertone are fixed finishes the paint must agree with, while the painting happens last.
Living in the home during the work. Most whole-home renovations happen while people live there, which turns sequencing into a room-rotation strategy. The rule adapts cleanly: complete one zone fully, floors, cabinets, finish paint, trim, before moving the household into it and starting the next. Never leave a room half-sequenced while you live around it: a room with new floors and unpainted walls becomes a storage zone, and storage zones do not get finished properly later. The bedroom you sleep in should be the last room touched or the first room completed, never the room in progress. And budget realistically: living through a renovation doubles the importance of the protection tactics in section 6, because the “construction zone” and your life overlap.
The refresh (no construction) case. If you are not renovating, just repainting, the sequence collapses to the room itself: move furniture out or to the center, repair and prep the walls, paint ceiling then walls then trim, touch up, move back in. The finishes are already fixed, so the color decision is already made against reality. This is the simplest version of the whole framework, and it is why repaint-only projects so rarely go wrong on sequence: there is nothing left to argue with.
Planning a renovation, not just picking one wall color?
The Whole Home Paint Guide is a complete, ready-to-use color system, anchor neutrals, trim and ceiling pairings, accent colors, all with undertones already coordinated, so your palette direction is set before the first finish is ordered, and every room’s color is chosen to serve the finishes that actually get installed. And the Paint Color Workbook includes a finish-inventory checklist and room-by-room sampling worksheets for locking your wall colors against the real floor, cabinets, and stone, with evidence, not guesswork.
Protecting Finished Work: The Real Reason Sequence Matters
Strip away the debates and sequencing is really about one thing: every trade’s work should land on surfaces that can afford to be touched. The right order makes protection easy; the wrong order makes it a full-time job. Here is how professionals protect each finished surface through the phases that follow it.
Protecting floors during painting. Once new floors are in and the walls get their finish coats, the floors get serious protection: heavy canvas drop cloths (not thin plastic, which tears and slides), taped at the edges to the baseboards, with adhesive floor-protection film on hard surfaces in high-traffic paths. Ladders get leg covers or stand on cloth. Paint cans sit on trays, never directly on the floor. The rule is simple and absolute: nothing touches the new floor except protection.
Protecting finished walls after painting. Once the walls are done, they stay done, which means the trades that follow (fixture installers, hardware, cleaners) work with wall protection in mind: door jambs get taped, corners get guarded where equipment moves through, and furniture is moved in only after the paint has cured. Latex paint feels dry in hours but takes up to a few weeks to fully cure, moving furniture and hanging art during the cure window is how walls get their first scars.
Protecting cabinets and counters. Finished cabinets and stone are masked during the wall painting: cabinet faces get covered, countertops get a protective layer, and spray work (if cabinets are finished in place) is isolated from the walls’ finish coats. The masking goes on before the paint comes out, protection is always set up in the previous phase, never during.
The dust discipline. The silent killer of finish work is airborne dust settling on tacky paint or into fresh floor finish. The sequence defends against it structurally, all sanding, cutting, and demolition happen before any finish coat exists, but the discipline continues: HVAC returns get covered or filtered during dusty work, rooms are cleaned between phases, and finish coats never go on in a room that was just sanded. A finish coat applied in dusty air is a finish coat with texture nobody chose.
This is the deeper point the whole guide has been circling: sequence is not bureaucracy, it is the cheapest form of quality control in the building. Every hour spent getting the order right saves a day of touch-ups, and every finish that lands on a surface ready to receive it is a finish that lasts. The house that was sequenced properly does not just look better on move-in day; it holds up better for years, because no finish started its life compromised.
Frequently asked questions
Install the flooring first, then paint the walls, with the floors properly protected. Floor work is heavy, dusty, and wall-touching: removing old flooring, cutting new material, and resetting baseboards will damage finished walls. That damage lands harmlessly on primed walls, whereas painting first risks drips and scuffs on the new floor and a full round of touch-ups. The exception is site-finished hardwood: sand before painting the walls, but apply the stain and sealer after the walls are painted.
Install cabinets first, paint the walls after. Cabinet installers maneuver large boxes against the walls, on primed walls that work is harmless; on finished walls it becomes a touch-up list. More importantly, the wall color should be finalized only after the cabinets (and countertops) are installed, because the wall’s job is to agree with them. Cabinets are a fixed finish; walls adjust to cabinets, never the reverse.
Both, in layers: trim gets its primer and first coats early, then the walls get their finish coats, then the trim gets its final coat last. Many pros paint trim before walls within a room because it is faster to roll the wall color up to a clean trim edge than to cut wall color into detailed trim. When baseboards are removed for flooring and reinstalled, they are often fully finished before installation, then caulked and touched up at the nail holes after.
After, and the wall color decision comes after too. The countertop is the least forgiving finish in the room: you cannot adjust a slab, so the wall color must be read against its actual undertone and veining, not against a sample chip chosen months earlier. Install the cabinets, then the counters, then finalize the wall color against both, and paint last. Choosing the wall color before the stone arrives is the single most common cause of kitchen repaints.
Choose the color direction early, the warm or cool thread, the anchor neutral family, the depth each room wants, but do not lock the exact wall color until the finishes are installed. The direction guides every finish choice downstream; the exact color is finalized against the real floor, cabinets, and stone in the room’s real light. Locking the color before the finishes exist is choosing against nothing, and nothing is the one thing the color never has to agree with.
Latex paint feels dry to the touch in a few hours and can be recoated per the can’s instructions, but full cure, the point where the film reaches its final hardness and can be cleaned or leaned on safely, takes up to a few weeks depending on humidity and ventilation. Wait at least a day or two before moving furniture back against walls, use felt pads under anything that touches a painted surface, and avoid washing or scrubbing new paint for the first few weeks. Sequencing matters here too: schedule the move-in after the cure window, not inside it.